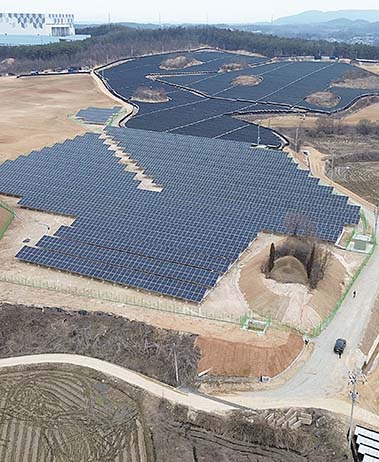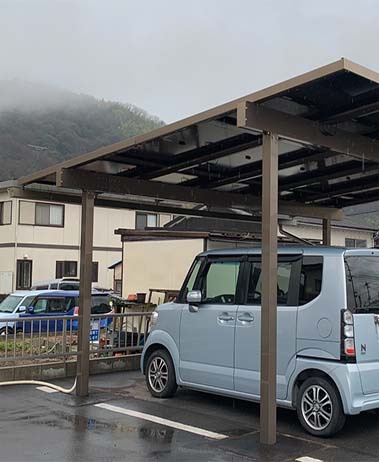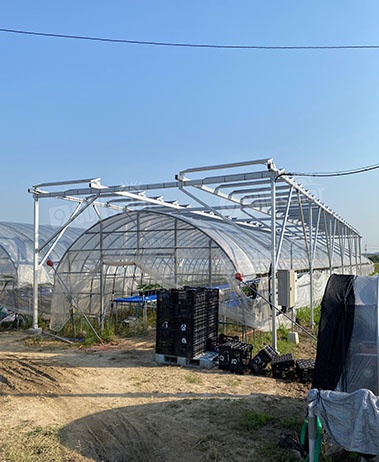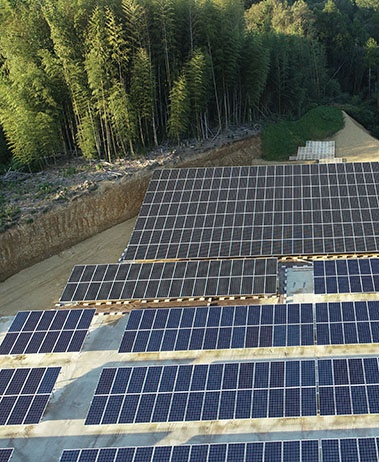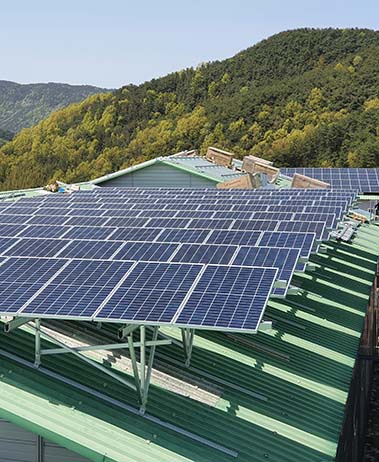


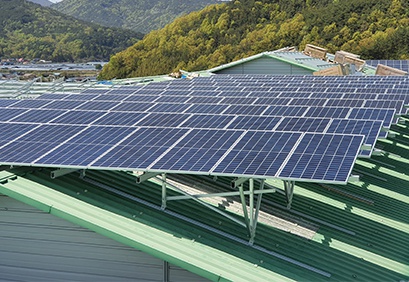

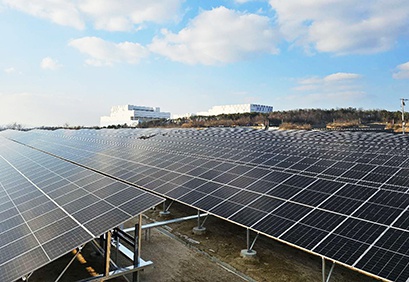

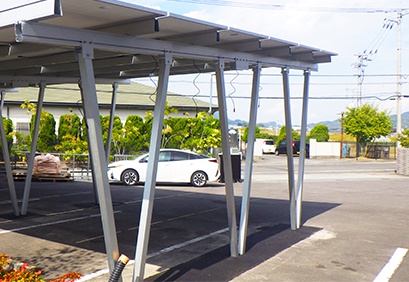

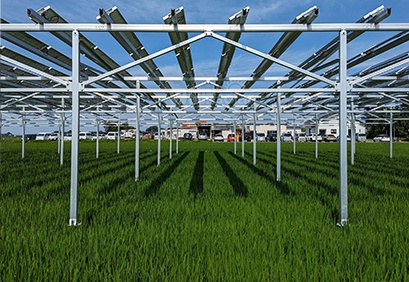


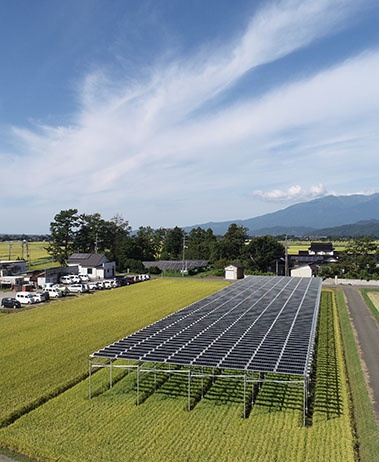
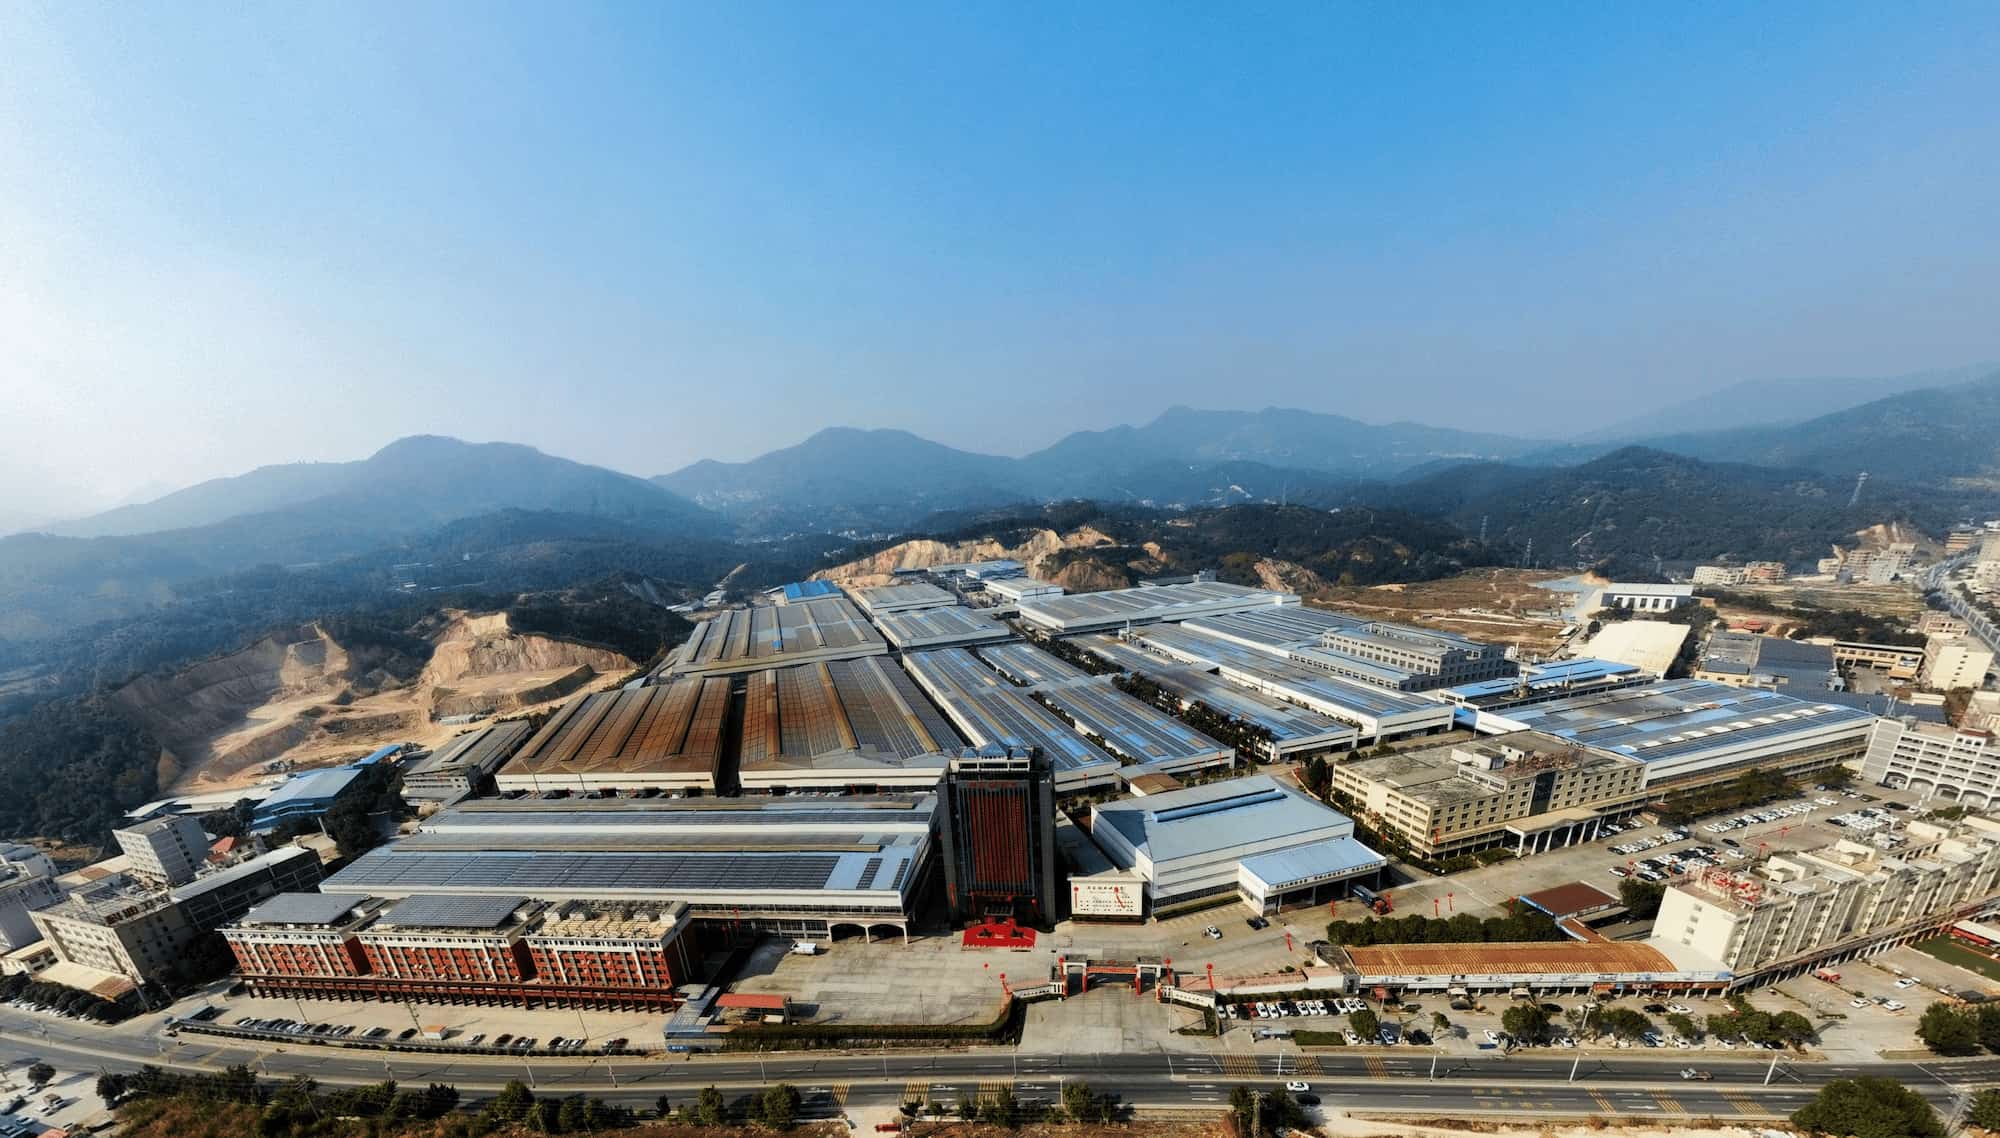
A 80kw solar farm mounting system to be built in Japan in 2024
leave a message
If you are interested in our products and want to know more details,please leave a message here,we will reply you as soon as we can.
Our team of experts is equipped to assist you with a variety of solar mounting system needs. Please share your email address to connect with us.
Our team of experts is equipped to assist you with a variety of solar mounting system needs. Please share your email address to connect with us.
Our team of experts is equipped to assist you with a variety of solar mounting system needs. Please share your email address to connect with us.
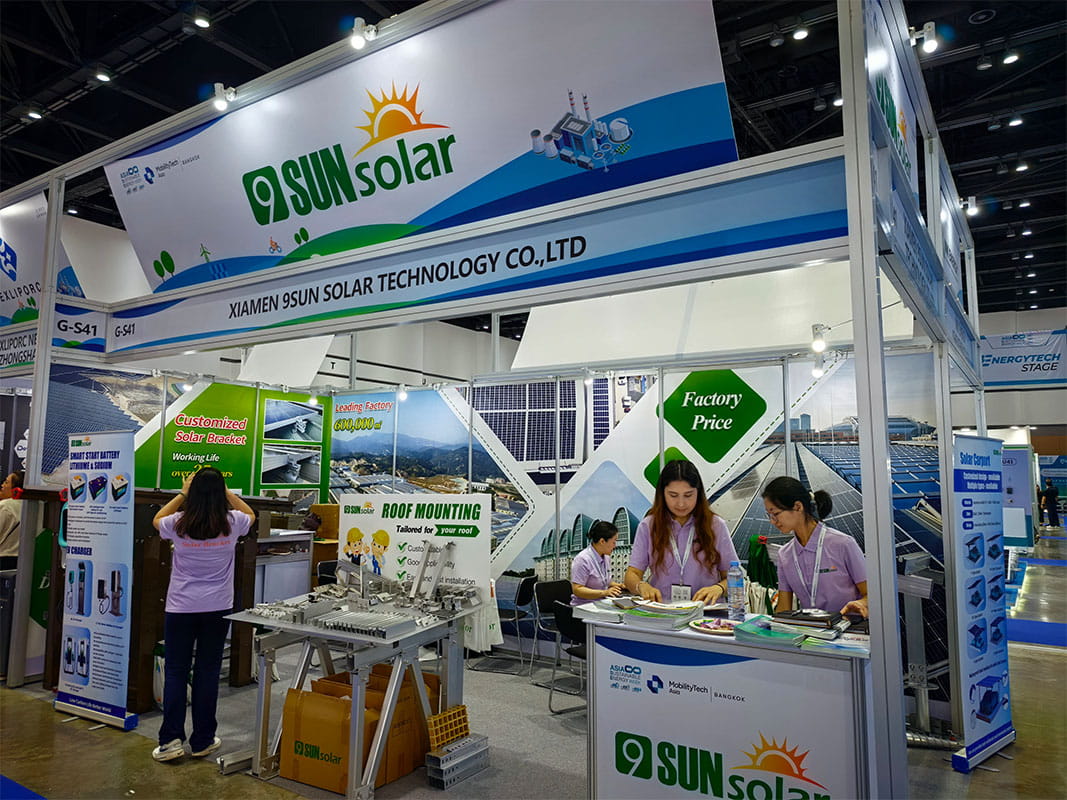
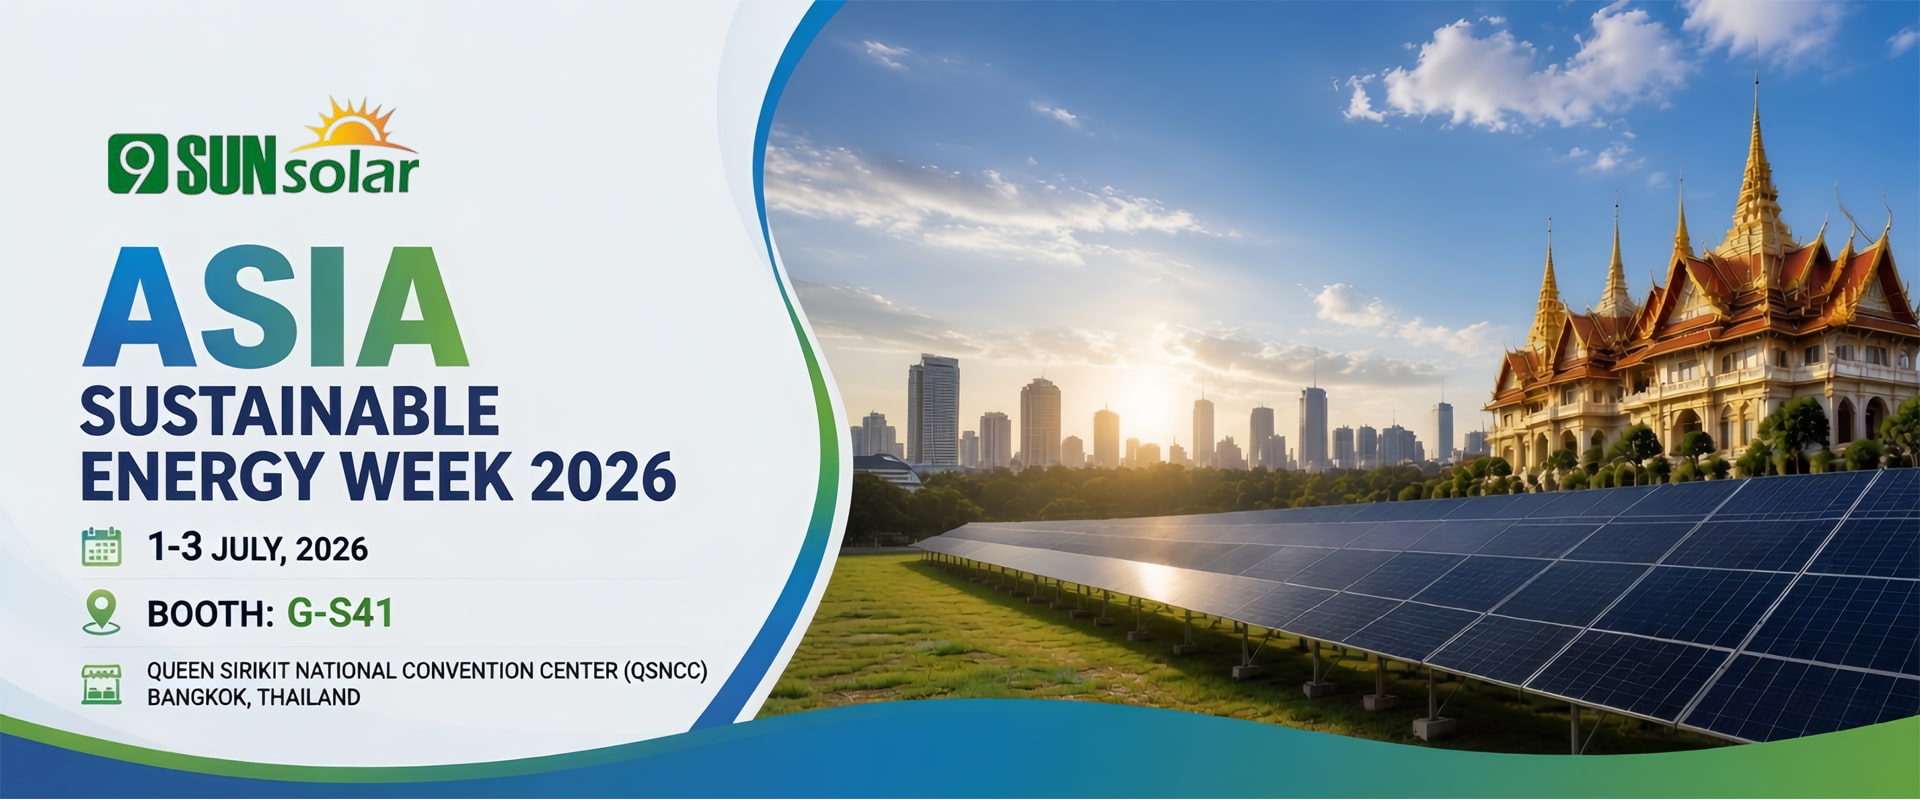
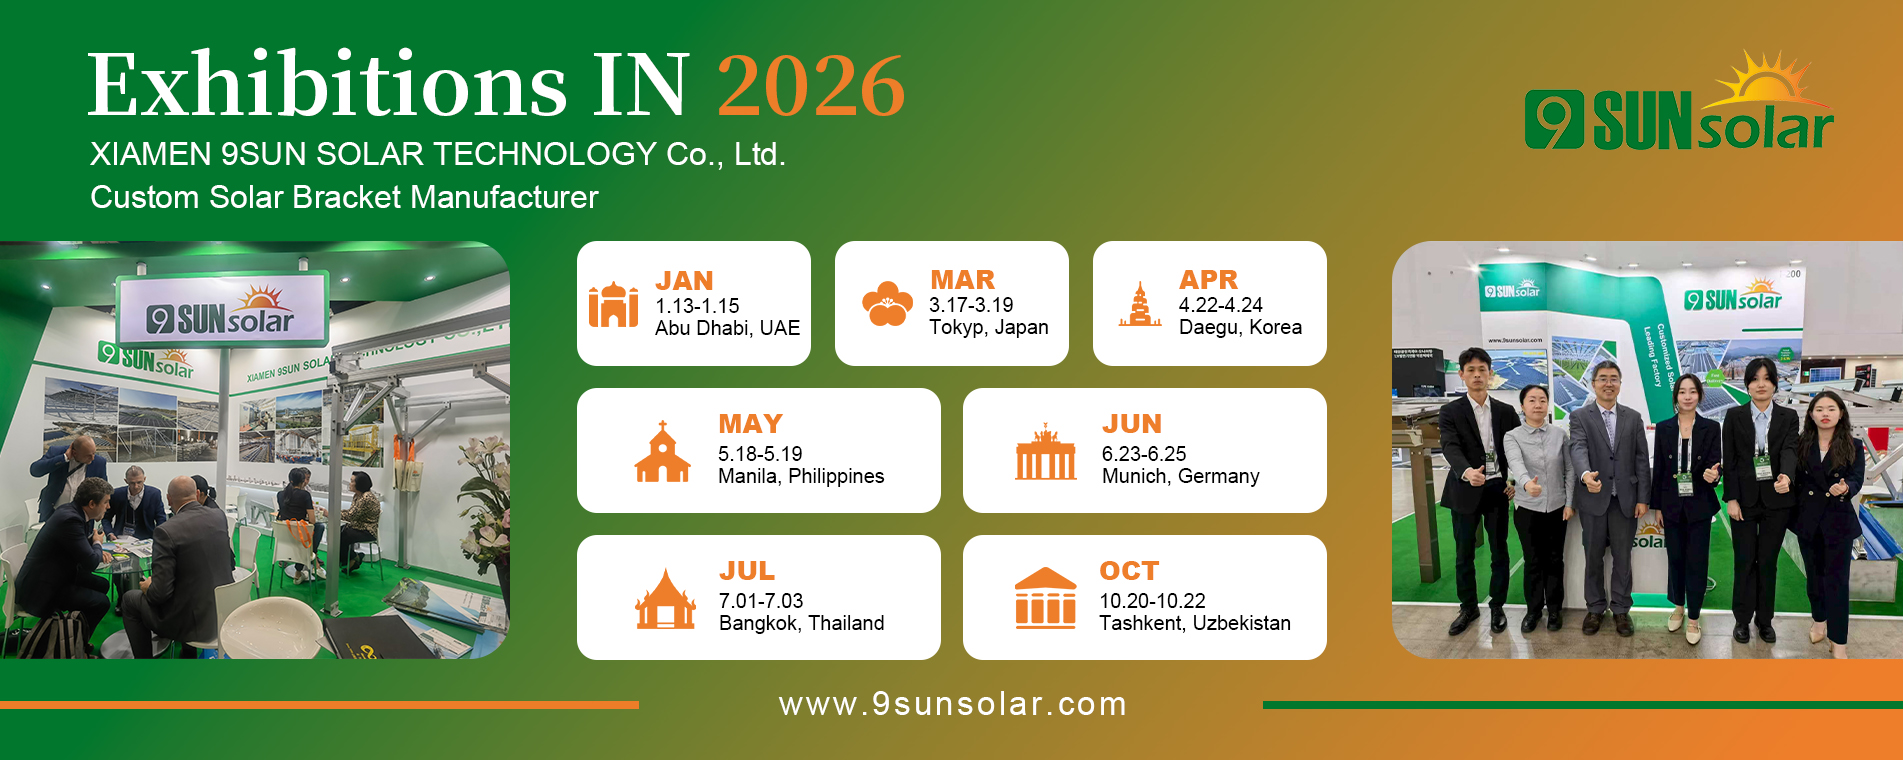
BANGKOK – 1 July 2026 – [Xiamen 9sun Solar Technology Co., Ltd.] is now exhibiting at ASIA Sustainable Energy Week 2026 at QSNCC Bangkok. The show runs 1–3 July, and we warmly invite all attendees to visit us at Booth G‑S41. Our team is on-site ready to showcase our latest sustainable energy solutions, discuss potential collaborations, and explore how we can support your energy transition goals. Come meet us face‑to‑face – we look forward to connecting with you! Event Details Event: ASIA Sustainable Energy Week 2026 (ASEW 2026) Booth: G‑S41 Dates: 1–3 July 2026 Venue: QSNCC, Bangkok, Thailand
Read More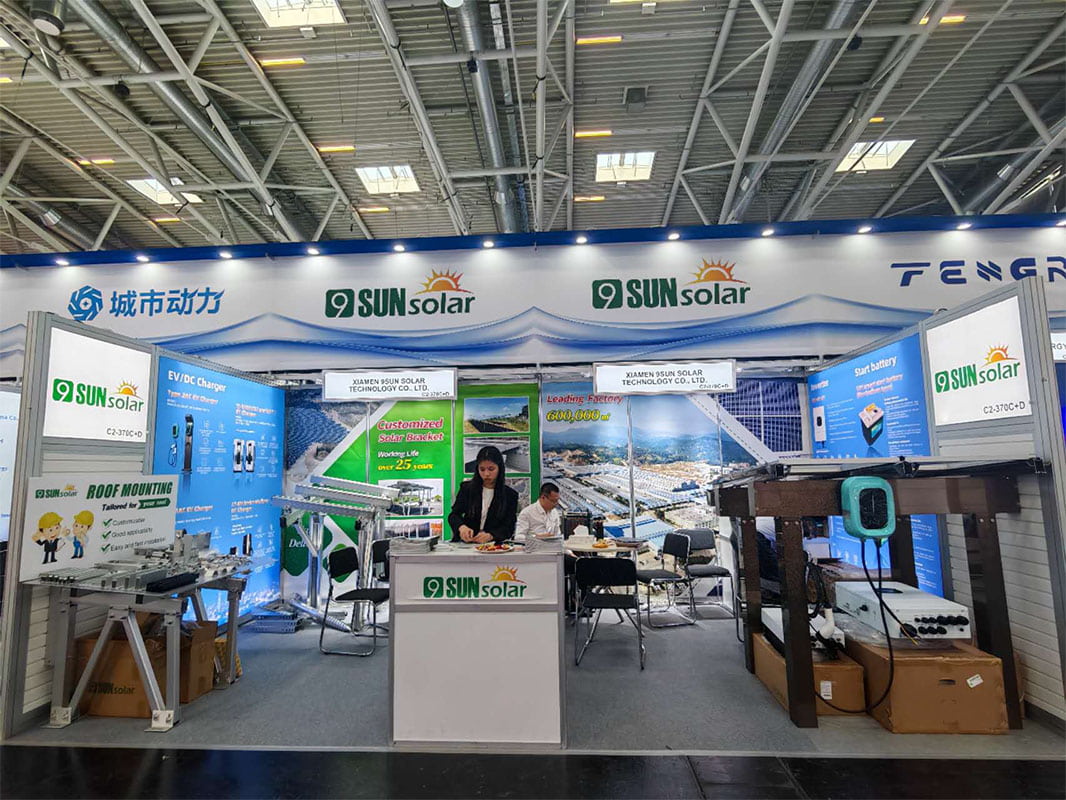
We are pleased to announce that XIAMEN 9SUN SOLAR TECHNOLOGY Co., Ltd will be participating in The Smarter E Europe 2026, Europe's largest and most influential trade fair alliance for the energy industry. The event will take place from June 23–25, 2026, at the New International Exhibition Center (Messe München) in Munich, Germany. Visit us at Booth C2.370C/D. About The Smarter E Europe 2026 The Smarter E Europe brings together four specialized trade fairs under one roof: Intersolar Europe (solar energy), ees Europe (battery and energy storage systems), Power2Drive Europe (charging infrastructure and e-mobility), and EM-Power Europe (energy management and integrated energy solutions). This unique combination makes it the premier platform for showcasing cross-sector technologies that enable a 24/7 renewable energy supply. This year's edition is expected to host approximately 2,800 exhibitors from around the world, with over 100,000 visitors anticipated across the three-day event. The exhibition spans more than 200,000 square meters across 19 halls and an outdoor area. 2026 Highlights: Renewables 24/7 The central theme of this year's event is "Renewables 24/7 – Secure Energy for a Changing World," featuring a special exhibition in Hall C5. The exhibit demonstrates how a fully renewable energy system can function across four key areas – industry, commerce, residential applications, and mobility – covering everything from generation, distribution, and storage to grid integration and hydrogen technologies. The message is clear: renewable energy guarantees a secure, reliable, and affordable supply every day, around the clock. This vision is backed by a new study from the Fraunhofer Institute for Solar Energy Systems ISE, which confirms that a renewable energy system is not only technically feasible but also cost-effective, resilient, and climate-neutral. Other key highlights include: The Hydrogen Dialogue Summit (June 24–25), exploring the latest trends and challenges in the hydrogen sector The Bidirectional Zone, showcasing how electric vehicles can charge, store, and feed electricity back into the grid The ees Island Challenge 2026 (BEYOND EARTH) , presenting space-developed solutions applicable to microgrids and critical infrastructure on Earth BSW-Solar press conference on the opening day, presenting the latest solar and battery storage market figures for Germany Meet XIAMEN 9SUN SOLAR TECHNOLOGY at Booth C2.370C/D As a dedicated player in the solar energy industry, XIAMEN 9SUN SOLAR TECHNOLOGY is excited to bring our latest innovations to the global stage. We will be showcasing our high-efficiency PV modules and smart energy solutions, and our expert team will be on-site throughout the exhibition to discuss your project needs, explore partnership opportunities, and share insights on the latest industry trends. Whether you are a project developer, system integrator, distributor, or industry professional, we invite you to visit our booth and discover how 9SUN SOLAR can support your renewable energy goals. We look forward to welcoming you in Munich. See you at Booth C2.370C/D!
Read More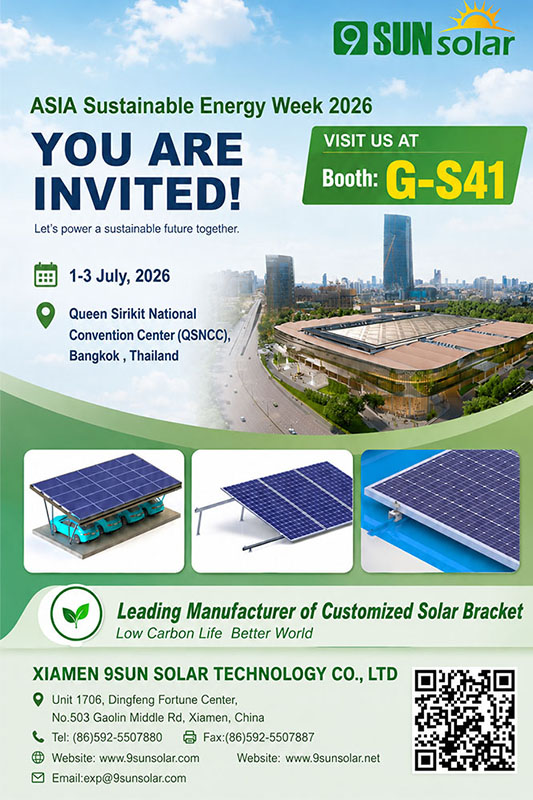
We are excited to invite you to visit our booth at ASIA Sustainable Energy Week 2026, the region’s premier event for sustainable energy solutions. Event Details:📅 Date: 1–3 July 2026📍 Venue: Queen Sirikit National Convention Center (QSNCC), Bangkok, Thailand🔹 Booth Number: G-S41 Discover our latest innovations in clean energy, energy storage, and efficiency solutions tailored for the Asian market. Our team will be on-site to discuss partnerships, answer your questions, and explore how we can drive the green transition together. 📍 Visit us at Booth G-S41 – we look forward to welcoming you in Bangkok! For inquiries or to schedule a meeting, please contact us at melody@9sunsolar.com or visit our website www.9sunsolar.com.
Read More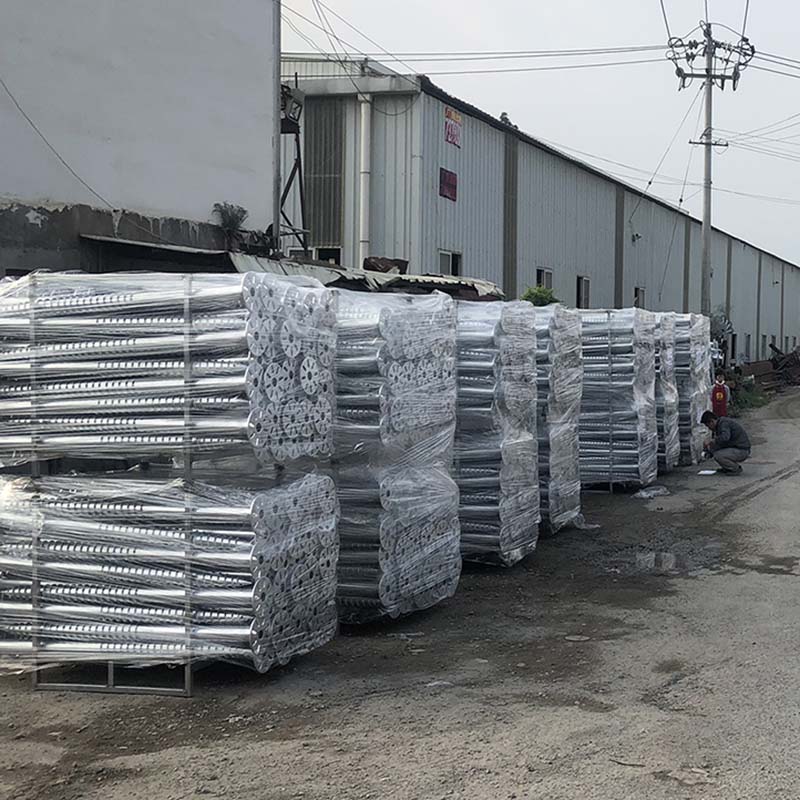
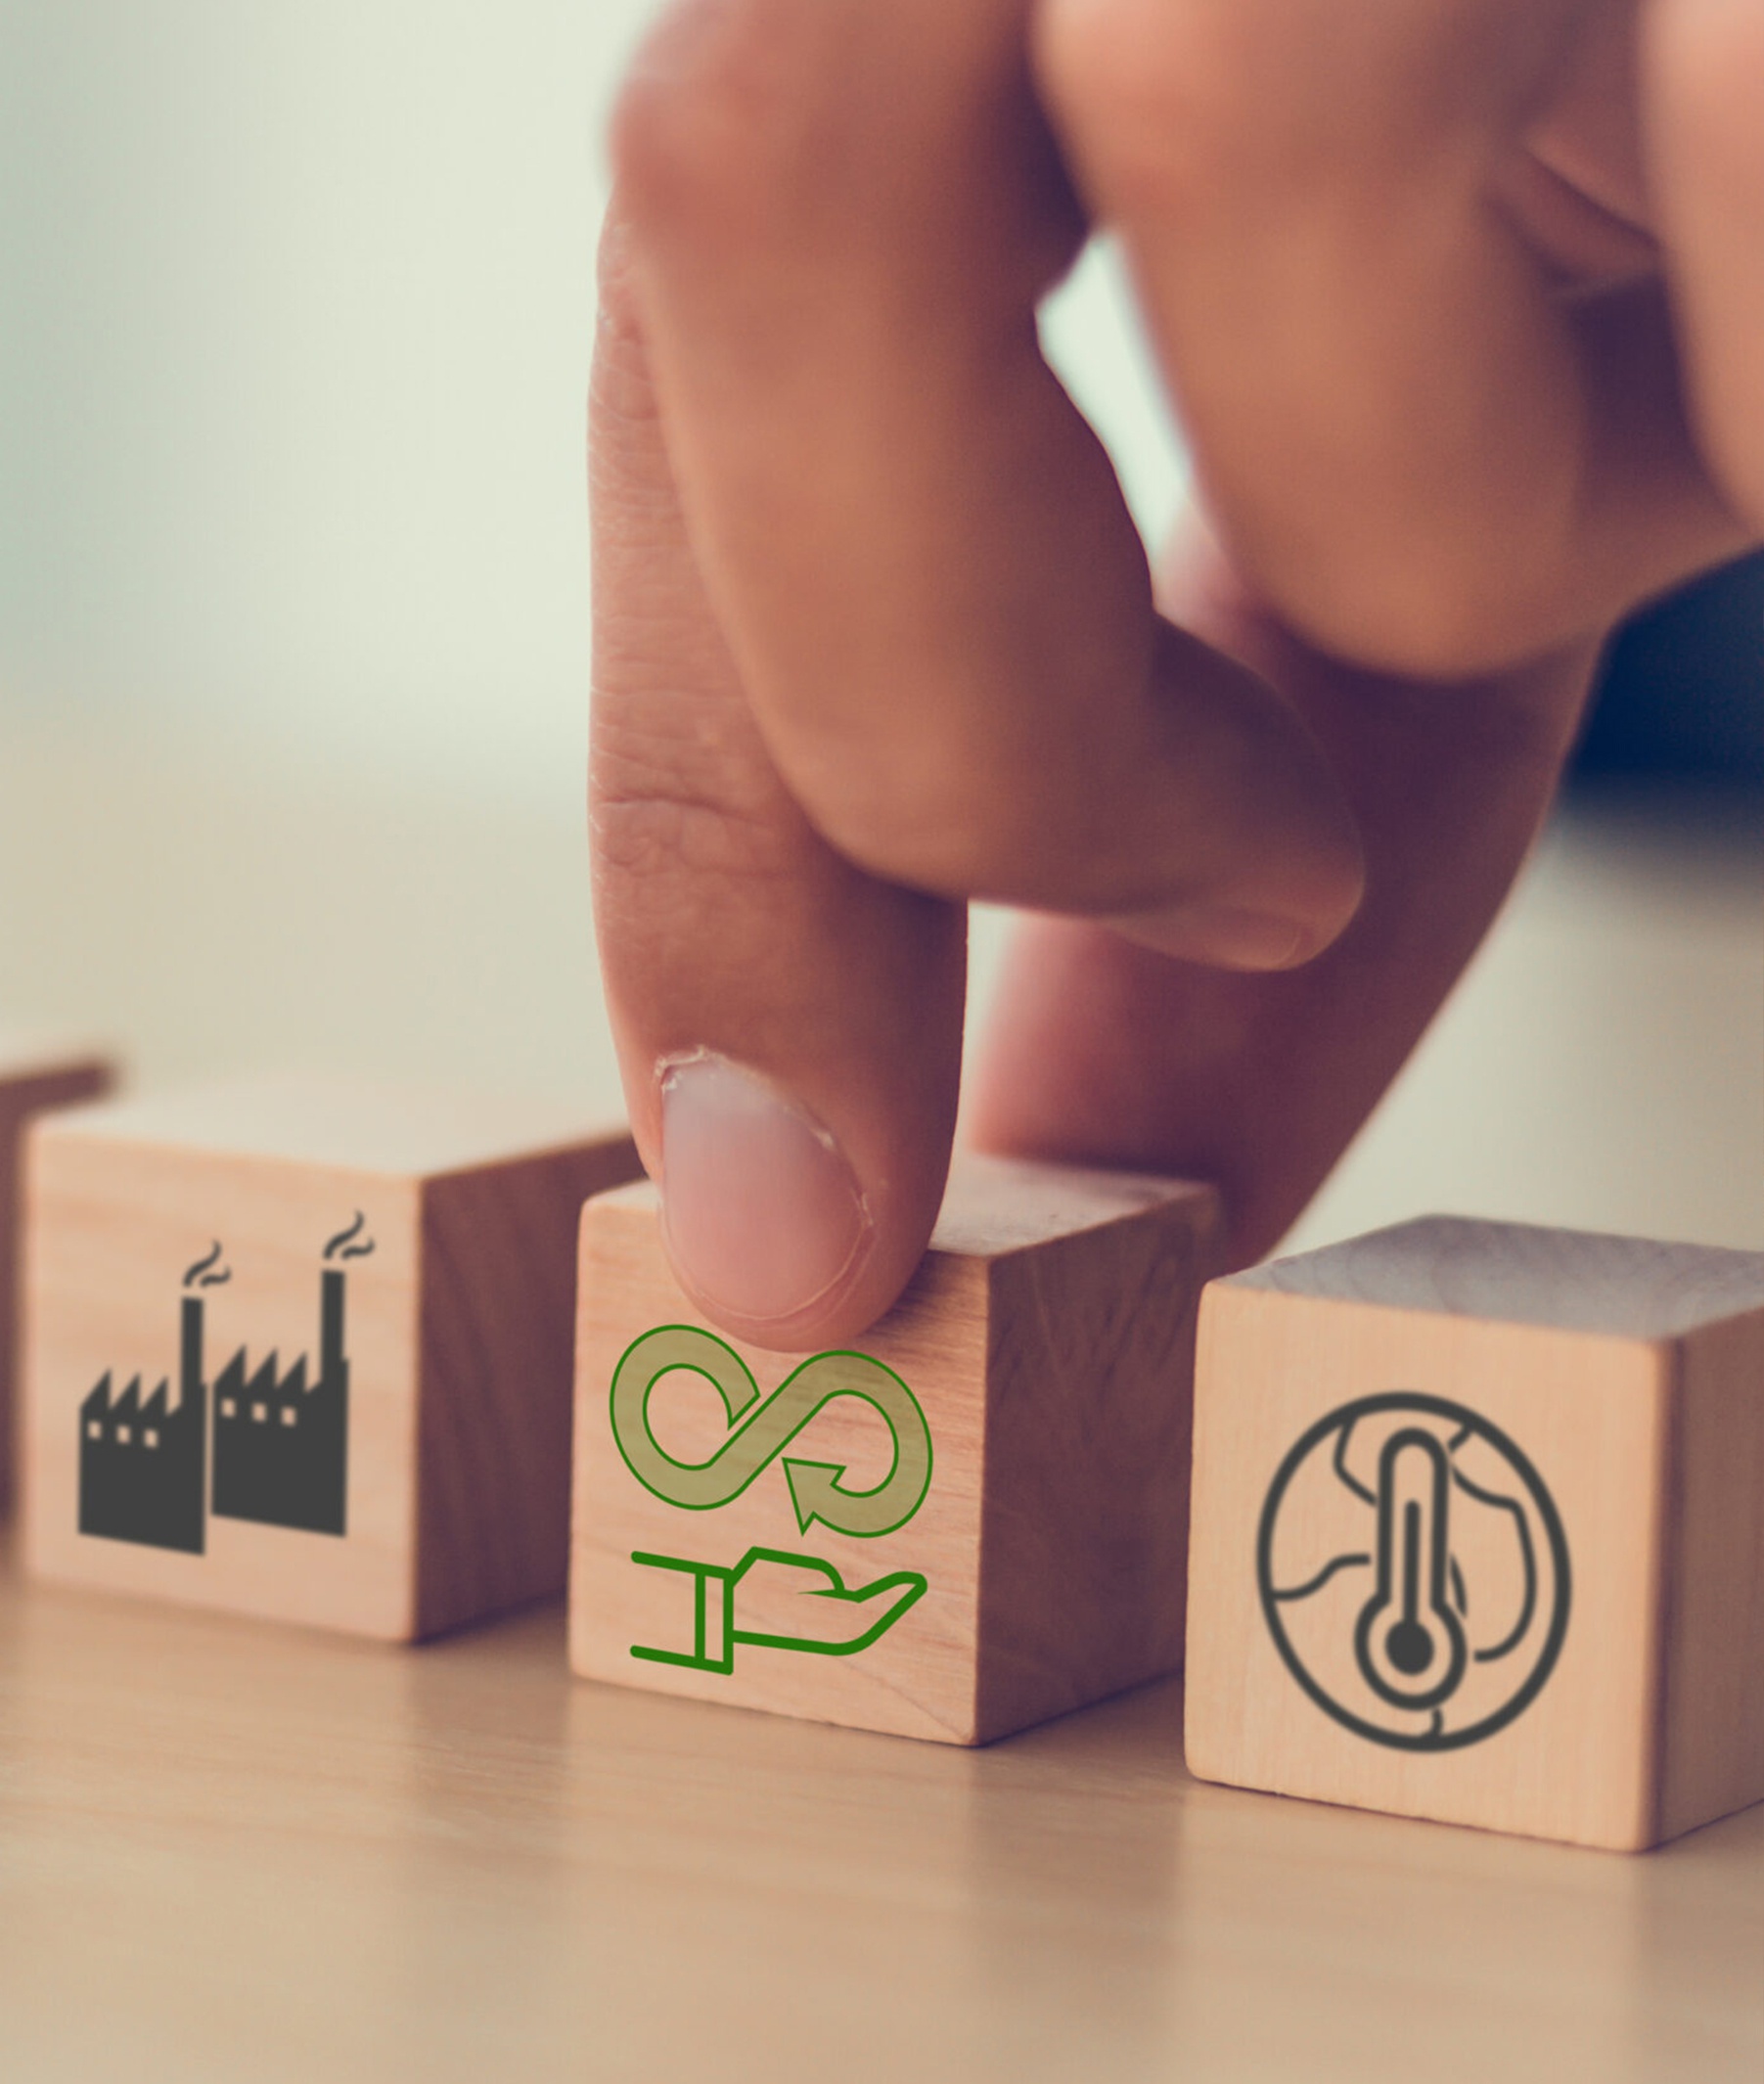
When building a utility-scale solar farm, the foundation is everything. Choosing the right ground screw solar farm solution directly impacts installation speed, project cost, long-term stability, and environmental footprint. That’s why more developers are switching from concrete to adjustable ground screws. Why Adjustable Ground Screws Are Gaining Popularity Traditional concrete foundations require excavation, curing time, and heavy machinery – and they struggle on uneven land. Ground screws for solar panels offer a faster, cleaner alternative. ✅ No excavation, no curing – install and load immediately✅ Terrain adaptability – easily adjust height on slopes and uneven ground✅ Lower total cost – less labor, less machinery, faster completion✅ Fully reversible – unscrew at end of project life, leaving land undisturbed Key Factors When Selecting Adjustable Ground Screws 1. Soil & Terrain Compatibility Adjustable ground screws work well in rocky, sandy, or clay soils and on slopes. But always conduct a geotechnical survey – soft organic soils or large boulders may require customized designs. 2. Load Capacity & Standards Ensure the product meets international standards (GB, EN, ASCE, AS/NZS, JIS). For large-scale solar farms, typical shaft diameters range from 76mm to 168mm, with hot-dip galvanized steel for corrosion resistance. 3. Cost Efficiency at Scale On a multi‑MW project, ground screws drastically reduce installation time (hundreds per day) and eliminate concrete material & curing costs. The savings quickly reach hundreds of thousands of dollars – especially on challenging terrain. Real‑World Example: 6.1 MW on a Steep Slope The Old Hill Farm solar project in New York used adjustable long‑span ground screws to install a 6.1 MW array on a steep, uneven incline – without extensive grading. The result: a stable, efficient solar farm on land previously considered unsuitable for traditional foundations. Installation Best Practices (Short Version) Geotech investigation – test pull‑out strength & soil composition Precision layout – survey every pile position Torque monitoring – real‑time data ensures design capacity Height adjustment – level each screw individually for a perfectly flat racking system Sustainability & The Future Ground screw foundations produce far less CO₂ than concrete, preserve soil structure, and allow complete land restoration after decommissioning. As solar capacity expands beyond 400 GW annually by 2030, expect smarter, more adjustable ground screws with integrated torque monitoring and tracker‑ready designs. Final Takeaway For large‑scale solar farms, adjustable ground screws offer the ideal balance of speed, strength, and sustainability. They lower costs, handle tough terrain, and meet the highest engineering standards – making them the smart foundation choice for today’s utility‑scale solar projects.
Read MoreSignup our newsletter to get update information, promotion and insight.


 IPv6 network supported